

Baldur's Gate 3 Full Walkthrough: Act 1 to Act 3 Main Quests and Bosses
A complete Baldur's Gate 3 full walkthrough covering Act 1, Act 2, and Act 3 main quests, key bosses, and essential choices.
Read the guide →A focused Baldur's Gate 3 walkthrough for resolving the Shadowlands darkness puzzle, including how to find the Moon Lantern and clear your path through the Shadow-Cursed Lands.

Okay, so you’re stuck on the Shadowlands darkness puzzle in Baldur’s Gate 3. Yeah, the Shadow-Cursed Lands aren’t exactly kind to explorers.
Regular torches won’t cut it in the heavy curse, and Light only helps in certain spots. The real fix is the Moon Lantern, plus a hidden bonus that makes Act 2 way easier: the Pixie’s Blessing.
Here’s how I handle this every run. I’ll show you how to survive the Shadow-Cursed Lands, get the Moon Lantern, free the pixie, and get to Moonrise Towers without losing your whole party to the dark.
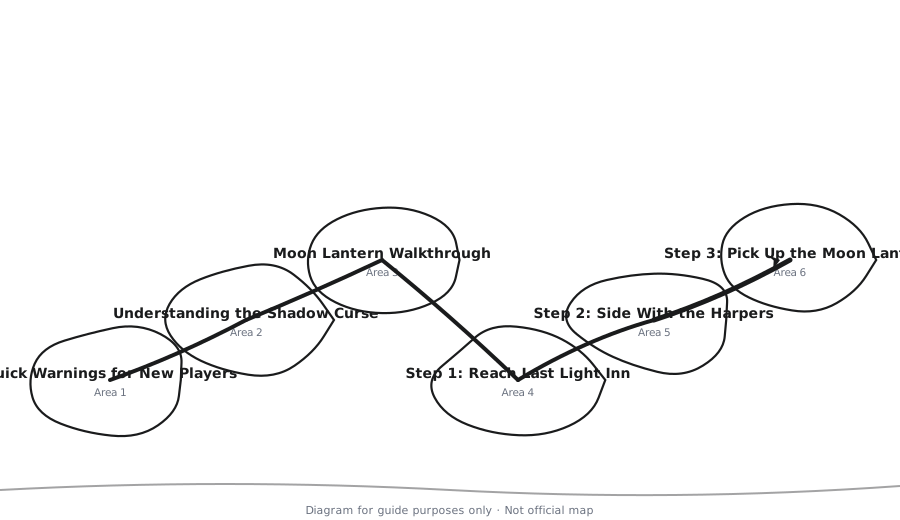
Before you dive in, keep these in mind:
First, let’s talk about what you’re actually dealing with. The Shadow Curse isn’t just “darkness” — it’s a magical curse that damages your party while you’re in certain Act 2 outdoor areas.
The curse comes in two basic levels:
Don’t trust Darkvision here. I thought it would protect me, and it didn’t. Darkvision only helps you see in the dark — it won’t stop the Shadow Curse.
Good news: you don’t need to brute-force this puzzle. Follow these steps in order, and you’ll get the best protection the Shadow-Cursed Lands have to offer.
Your first main goal is Last Light Inn. It doesn’t matter if you entered Act 2 through the Mountain Pass or the Underdark — get there first. This is the last safe hub in the Shadow-Cursed Lands.
Jaheira and the Harpers are here, and it’s your spot to rest, resupply, and grab important quests. While you’re at the inn, talk to Isobel and deal with the Flaming Fist Marcus attack. You need to defend Isobel so the inn stays protected.
If you lose that fight, Last Light Inn can fall to the curse. That means no more safe base, and you really don’t want that.
Player tip: Before leaving Last Light Inn, make sure every party member has a torch, Light spell, or some kind of magical light source. You’ll need it just to reach the next quest marker.
Once you’re ready to head toward Moonrise Towers, follow the main road out of Last Light Inn. Before you reach the tower gates, you’ll find a group of Harpers getting ready to ambush an Absolute convoy.
The convoy is led by a drider named Kar’niss. He carries the Moon Lantern, which is exactly what you need for the deeper parts of the Shadow-Cursed Lands.
Here’s the cleanest way to handle this ambush:
The fight can get chaotic, but the Harpers are solid allies. Stay close to them, and don’t run too far ahead. Otherwise, you’ll end up fighting the entire convoy by yourself.
After the Harpers win the ambush, loot the Moon Lantern. Make sure one of your characters grabs it before you leave the area. If a Harper takes it, you might need a Persuasion or Intimidation check to get it back.
Once the lantern is in your inventory, interact with it. You’ll discover a pixie trapped inside. This is a big deal, so don’t ignore her.
The pixie is willing to help you if you set her free. That’s the real secret to solving the Shadowlands darkness puzzle without carrying that lantern around for the rest of the game.
When the lantern gives you the option, break it or open it to free the pixie. Yeah, it feels like a bad idea at first. You’re destroying the thing protecting you — but trust me, it’s worth it.
Because the pixie rewards you with the Pixie’s Blessing. That blessing is way better than the lantern because it protects you from the Shadow Curse without forcing one character to hold the lantern. No more swapping it around or babysitting the light.
Here’s what to do after you free her:
With the blessing active, the trip is much easier. You still need to be careful in combat, but you won’t be losing HP just from walking around.
Even with the right steps, people still mess this up. Here are the biggest mistakes I see:
Do I actually need the Moon Lantern, or can I just use torches?
Torches only work in the lightly cursed parts of the Shadow-Cursed Lands. The heaviest cursed areas need something stronger. The Moon Lantern is the intended solution, and the Pixie’s Blessing is the best reward for clearing that part quickly.
What happens if I break the Moon Lantern to free the pixie?
You lose the physical lantern, but the pixie gives you the Pixie’s Blessing in return. That blessing protects your current party from the Shadow Curse, so you don’t need the lantern anymore. For most players, that’s the better trade.
Can I find another Moon Lantern if I miss the Harper ambush?
Yes. There are other ways to get safe passage through the Shadow-Cursed Lands. You can side with Kar’niss and let him guide you, or search around Moonrise Towers for a spare lantern. That said, the Harper ambush is usually the most straightforward route for a good-aligned playthrough.
How do I know if my party has the Pixie’s Blessing?
Open your character sheet or check the status icons above your hotbar. If you see the Pixie’s Blessing icon, you’re protected. If not, head back to where you freed the pixie and make sure the conversation triggered correctly.
Bottom line: this puzzle doesn’t have to ruin your run. Reach Last Light Inn, help the Harpers win the ambush, grab the Moon Lantern, and free the pixie. Once you’ve got the Pixie’s Blessing, the Shadow-Cursed Lands are way safer, and you can finally focus on reaching Moonrise Towers and finding out what happened to the Nightsong.
Keep reading on Gaming Tip Hub.

Baldur's Gate 3 escape the nautiloid ship before the crash is the first challenge; this guide shows you how to do it efficiently.
Read the guide →A complete Baldur's Gate 3 full walkthrough covering Act 1, Act 2, and Act 3 main quests, key bosses, and essential choices.
Read the guide →
Master the Spectator fight in the Underdark with these Baldur's Gate 3 tactics for positioning, debuffs, and crowd control.
Read the guide →
Solving the mausoleum riddle in the shadowlands is the key to Baldur's Gate 3's Gauntlet of Shar — here's the exact order and every reward.
Read the guide →
Learn how using barrelmancy to destroy the goblin camp in Baldur's Gate 3 can clear the entire map with one perfectly placed chain of firewine barrels.
Read the guide →