

Baldur's Gate 3 escape the nautiloid ship before the crash is the first real test the game throws at you. You wake up with a tadpole behind your eye, the ship's falling apart around you, and you've only got a handful of rooms to learn the ropes.
This guide walks you through a clean route, points out the loot that actually matters, and flags the dumb mistakes I made on my first three tries so you can hit the helm and trigger the crash without wasting time.
What You Need to Know Before You Escape the Nautiloid Ship Before the Crash
The Nautiloid prologue is short, but there are a couple of optional allies and one genuinely good weapon hiding in it. You do NOT need to kill every enemy on board.
Your main goal is dead simple: reach the helm, use the transponder. Literally everything else is optional.
You can free Us, a small intellect devourer, in the first room. You can pop Lae'zel out of her pod. You can also pop Shadowheart out of hers.
These allies make the fights way easier, but if you just want to sprint through, you can skip most of them. The ship crashes the moment you connect the transponder, so don't bother trying to "save" it. You're getting off, not captaining this thing.
Quick new-player warnings - Us is squishy. Don't shove it in front of Zhalk and walk away expecting it to be fine. - The restoration pod is one use only. Don't blow it at full HP if you're planning to actually fight on the helm. - The ship has explosive barrels and Nautiloid tanks. When things start popping, don't be the guy standing next to them.
Step-by-Step: How to Escape the Nautiloid Ship Before the Crash
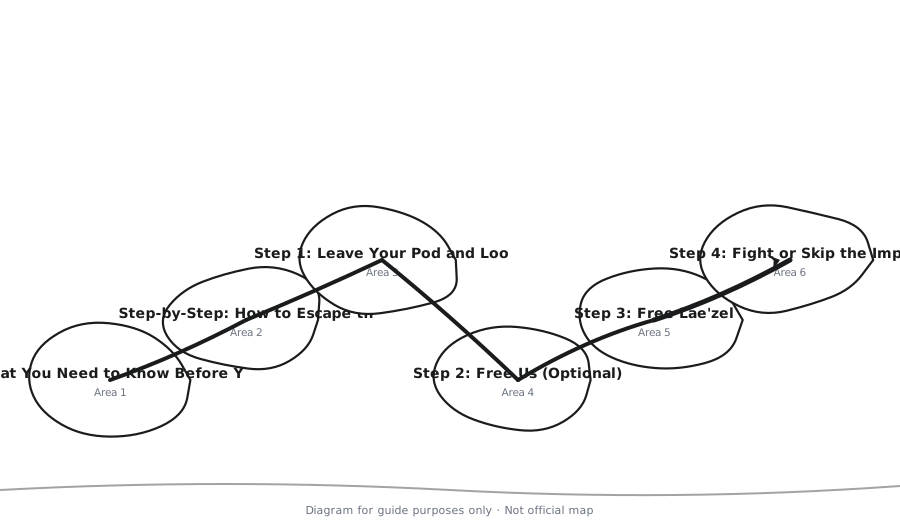
Step 1: Leave Your Pod and Loot the First Room
You start in a pod. After the mind flayer shoves the tadpole in you, the thing opens. Step out and look around.
Couple of containers, a few corpses. Grab any healing potions or useful stuff, but don't overdo it. The first room's safe for the moment.
Head for the door when you're ready.
Step 2: Free Us (Optional)
In the first room you'll spot a brain on a table or slab. It's an intellect devourer. Interact with it and you can free it.
It becomes "Us" and follows you. Us helps out in the next few fights, but it's paper-thin.
Want a little extra damage and a weird companion? Free it. Want to just move? Ignore it or crush it. Freeing Us doesn't lock you out of anything, and skipping it won't break your run either.
Step 3: Free Lae'zel
Go through the door to the next area. Lae'zel's trapped in a pod. Use the console next to her pod to open it.
She joins up. Lae'zel hits hard and can actually take a punch, which makes her huge for the rest of the prologue.
Skip her? You can still escape, but the fights get noticeably harder.
Step 4: Fight or Skip the Imps
After you free Lae'zel, a few imps may attack. Fight them with Lae'zel and Us. Basic attacks and cantrips will do.
Don't burn spell slots if you don't have to. Want to go faster? Just run past them.
The imps aren't the point. The helm is the point.
Step 5: Free Shadowheart
Next room has Shadowheart in a pod. Use the console to free her. She joins as a temporary companion.
Shadowheart's a cleric, so she can heal and cast Command. Command: Drop is great on the helm because it makes Commander Zhalk drop the Everburn Blade.
Skip her and she'll still show up on the beach later, but you lose her help on the ship itself.
Step 6: Use the Restoration Pod
Before you walk into the helm, look for a restoration pod. Fully heals your party. One-time use, so pop it if you're hurt or just want to be safe.
Especially handy if you're planning to fight Commander Zhalk for the Everburn Blade.
Step 7: Reach the Helm
The helm is the last room. You'll see a mind flayer fighting a cambion named Commander Zhalk. Hellsboars, maybe some imps, are mixed in too.
You don't have to win this fight. Your target is the transponder console in the middle of the room.
Run past the enemies. Dash. Jump over gaps if you need to.
Want the Everburn Blade? Have Shadowheart cast Command: Drop on Zhalk. Then grab the sword and bolt.
Don't care about loot? Ignore everyone and head straight for the console. You can also throw explosive Nautiloid tanks at Zhalk if you want to chip him, but that's totally optional.
Step 8: Connect the Transponder
Interact with the transponder. Cutscene plays. Ship crashes. You wake up on the beach.
Prologue's done. You've successfully escaped the nautiloid ship before the crash.
Fastest Route to Escape the Nautiloid Ship Before the Crash
Want the fastest possible route? Do this:
- Leave your pod.
- Skip Us. Don't waste time freeing the brain.
- Run to Lae'zel and free her. She helps clear the path.
- Skip looting. Only grab healing potions if they're right in your way.
- Run past the imps. Dash.
- Free Shadowheart only if you want Command for the Everburn Blade. Otherwise skip her.
- Use the restoration pod if you're low.
- Run to the helm. Ignore Zhalk and the mind flayer.
- Use the transponder. Done.
My first run? I spent forever fighting every imp and looting every single corpse. You don't need to do that.
The game gives you enough time to escape, but the prologue feels so much smoother when you just lock onto the objective. Playing on a harder difficulty? Skipping the helm fight is the smart call.
You can always grab the Everburn Blade on another run.
Common Mistakes When You Escape the Nautiloid Ship Before the Crash
Mistake 1: Trying to kill every enemy. The helm fight isn't a mandatory boss fight. You can run past Zhalk. The mind flayer will keep him busy.
Mistake 2: Forgetting to free Lae'zel. She's a free party member and she makes the prologue way easier. Skip her and you'll just have to rescue her later anyway.
Mistake 3: Missing the Everburn Blade. Want a strong early weapon? Use Command: Drop on Zhalk or kill him before you leave. It's one of the best weapons in Act 1. Just remember it's a greatsword, so it works best on a strength-based character.
Mistake 4: Not using the restoration pod. Free healing. Use it before the helm, especially if you plan to fight.
Mistake 5: Standing in fire or explosions. The ship's on fire. Some barrels and tanks blow up. Don't park next to them.
Mistake 6: Taking too long on the transponder. Once you're at the console, use it. Don't start another fight after that.
FAQ: Escape the Nautiloid Ship Before the Crash
Q: Do I have to free Shadowheart on the Nautiloid? A: No. She's optional on the ship. Free her and she helps you escape and can use Command. Skip her and she still appears later on the beach.
Q: How do I get the Everburn Blade? A: Commander Zhalk drops it. Kill him, or have Shadowheart cast Command: Drop to make him drop it. Then pick it up before you use the transponder.
Q: What happens if I take too long to escape? A: You can take your time. The ship won't crash until you use the transponder. You can fight, loot, and explore, but the prologue is designed to be quick. Once you connect the transponder, the crash happens.
Q: Can I save the mind flayer on the helm? A: No. The mind flayer isn't a long-term ally. You can help it fight Zhalk, but it doesn't change the story. Focus on escaping.


