

Baldur's Gate 3 Full Walkthrough: Act 1 to Act 3 Main Quests and Bosses
A complete Baldur's Gate 3 full walkthrough covering Act 1, Act 2, and Act 3 main quests, key bosses, and essential choices.
Read the guide →Discover the exact steps for unlocking the owlbear cave secret door in Baldur's Gate 3, including required skill checks and hidden rewards.
 By Rook Ashgrove
Updated 2026-09-27
By Rook Ashgrove
Updated 2026-09-27

Hey, if you’re poking around the western edge of Act 1 and you’re the kind of player who searches every nook for loot, unlocking the owlbear cave secret door needs to be on your list. This hidden door is super easy to miss, but the payoff is a unique item that makes the detour totally worth it. Here’s exactly how to find it, what checks you need to pass, and what’s waiting inside.
Short version: the secret room behind this door holds a chest with a unique ring called The Whispering Promise. It gives your healer a nice support boost while they’re patching up allies. It won’t win the game for you, but it’s a strong early-game item that can make Shadowheart way more useful.
The room is tiny. Don’t expect a dungeon or a boss fight. You’ll find an ornate chest with the ring, some gold, a few potions, and maybe a scroll or two. The ring is the main prize, but the extra gold is a nice bonus when you’re still broke in Act 1.
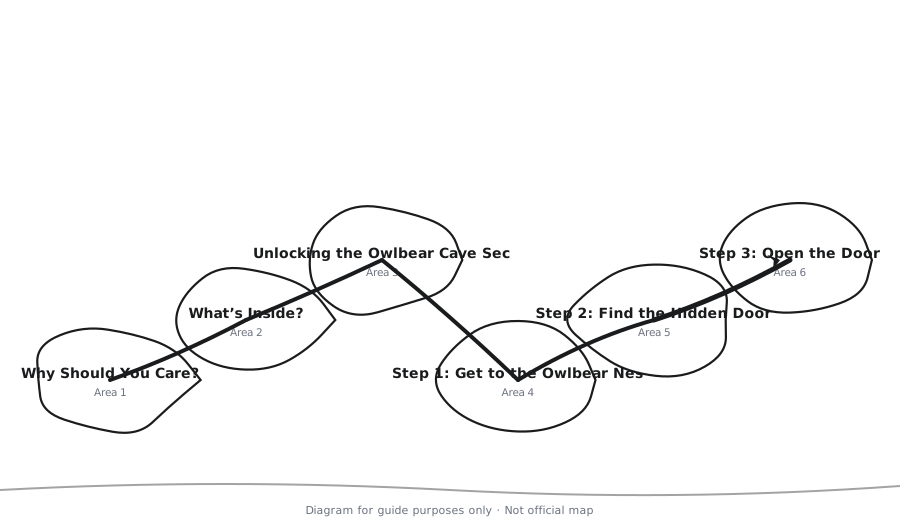
Alright, let’s get into it. I’ve broken this down into four simple steps so you don’t miss anything.
First, reach the Owlbear Cave. Head west from the Emerald Grove and cross the river. The cave entrance sits near the path toward the Blighted Village. You’ll know you’re in the right spot when you see bones and blood trails around the opening.
Inside, follow the winding path to the big circular chamber where the mother owlbear is waiting. If you haven’t dealt with her yet, you’ve got options:
The secret door doesn’t care if the owlbear is alive or dead. You just need to get into that room without getting clawed. On my first playthrough, I just killed the owlbear first, then searched the cave. That’s the safest route.
Once the chamber is clear, walk around the edges of the room. You’re looking for a wall that doesn’t look quite like the others. There should be a faint rectangular seam that stands out from the natural rock. But here’s the catch: the game won’t show you that seam unless you pass a Perception check.
The DC is around 15, so put your highest Perception character up front. Astarion, Shadowheart, or a ranger all work well. You can also cast Guidance before you start searching for a little extra boost.
Walk slowly along the back wall and the alcoves. If your passive Perception is high enough, the hover text will show Hidden Door. If not, move a character nearby and use the search interaction. Once you spot it, you’ll know exactly where to go.
Now for the real challenge. You’ve got three main ways to open this thing, so pick whichever fits your party.
Option A: Pick the lock.
You need Thieves’ Tools in your inventory. The Sleight of Hand DC is 20, so you want a rogue or someone with Sleight of Hand proficiency and a good Dexterity score. Astarion is perfect for this. Before you try, save your game. Then click the door and hit Pick the Lock. If you fail, you can spend an Inspiration point to reroll, or just reload and try again.
Option B: Force it open.
No rogue? Use a strong character like Karlach or Lae’zel. The Force option uses a Strength (Athletics) check, also DC 20. It’s a little riskier since it’s still a straight d20 roll, but if your barbarian has high Strength and Athletics proficiency, it works fine.
Option C: Use the Knock spell.
This is the easiest way by far. If you have a wizard, sorcerer, or bard with Knock, just cast it on the door. It unlocks automatically, no skill roll needed. No tools, no Strength check, nothing. The only cost is a level 2 spell slot.
One quick warning: don’t waste time smacking the door with your weapons. This isn’t a wooden door that breaks after a few hits. Use one of the three options above and get to the loot.
Once the door opens, step inside the little storage room. There’s usually another chest in there, and it might be locked too. Check for traps, pick the chest’s lock, and open it up.
Inside, you’ll find The Whispering Promise ring. It’s a unique item that fits perfectly on a cleric or bard. You’ll also get some gold and a few consumables. After you grab everything, check the corners for loose containers or hidden pouches. Sometimes there’s a small bag or a second chest tucked away.
Plenty of players mess this secret door up in the same few ways. Avoid these and you’ll save yourself a lot of time.
Mistake #1: Showing up without Thieves’ Tools.
You can’t lockpick without tools. If you’re low on supplies, buy some from a merchant before heading to the cave. Or just use Knock instead.
Mistake #2: Not searching the walls carefully.
The door is hidden for a reason. If you skip the Perception check, you’ll walk right past it. Take an extra 30 seconds to scan the whole chamber. It’s way better than leaving behind a useful ring.
Mistake #3: Using the wrong character to unlock it.
If your character has a −1 Dexterity modifier and no Sleight of Hand, that DC 20 lockpick check is going to feel impossible. Use Astarion or another dexterous character. If you don’t have a rogue, bring Karlach and try the Force option.
Mistake #4: Trying to smash the door.
I get it, barbarians love smashing things. But this door doesn’t work that way. You’ll waste a few attacks and still need to open it properly. No cheese here.
Mistake #5: Leaving before looting the chest.
Some people unlock the secret door, peek inside, and decide the chest isn’t worth it. That’s a mistake. The Whispering Promise is unique, and you can sell it if you don’t want it. Don’t skip free loot.
Yes. After you pass the Perception check to find the door, interact with it and choose the Force option. That uses a Strength (Athletics) check with a DC of 20. It’s a solid backup plan if you don’t have a rogue in your party.
If there’s no trap on the door, failing just means the door stays locked. You can retry as many times as you have Thieves’ Tools. To be safe, save before you attempt the check. That way, if you run out of tools or burn all your Inspiration points, you can load the save and try a different approach.
No, you don’t. The secret door doesn’t require the owlbear to be dead. But you do need to get into the owlbear’s chamber without getting attacked. Sneaking works, and so does talking to her with Speak with Animals. Most players just kill the owlbear, though. It makes looting the room a lot less stressful.
For a support character, yes. The ring gives your healer an extra tool to weaken enemies while keeping allies alive. It’s especially strong on a Life Domain cleric or any bard that spams healing word. And even if you don’t need it, it sells for a good amount of gold at a vendor.
Unlocking the owlbear cave secret door is one of those small optional goals that only takes a couple minutes but pays off in a useful item and some spare cash. It’s all about knowing where to look and bringing the right character for the job. Once you’ve grabbed The Whispering Promise, you can put a big ☑ next to “owlbear cave secret door” on your completion checklist. Good luck out there.
Keep reading on Gaming Tip Hub.

Baldur's Gate 3 escape the nautiloid ship before the crash is the first challenge; this guide shows you how to do it efficiently.
Read the guide →A complete Baldur's Gate 3 full walkthrough covering Act 1, Act 2, and Act 3 main quests, key bosses, and essential choices.
Read the guide →
Master the Spectator fight in the Underdark with these Baldur's Gate 3 tactics for positioning, debuffs, and crowd control.
Read the guide →
Solving the mausoleum riddle in the shadowlands is the key to Baldur's Gate 3's Gauntlet of Shar — here's the exact order and every reward.
Read the guide →
Learn how using barrelmancy to destroy the goblin camp in Baldur's Gate 3 can clear the entire map with one perfectly placed chain of firewine barrels.
Read the guide →